Saturday I took most of the day installing stuff we had ordered for both of our bikes. I also had to do another oil change on mine having reached that 30K mileage mark.

Installing Grips
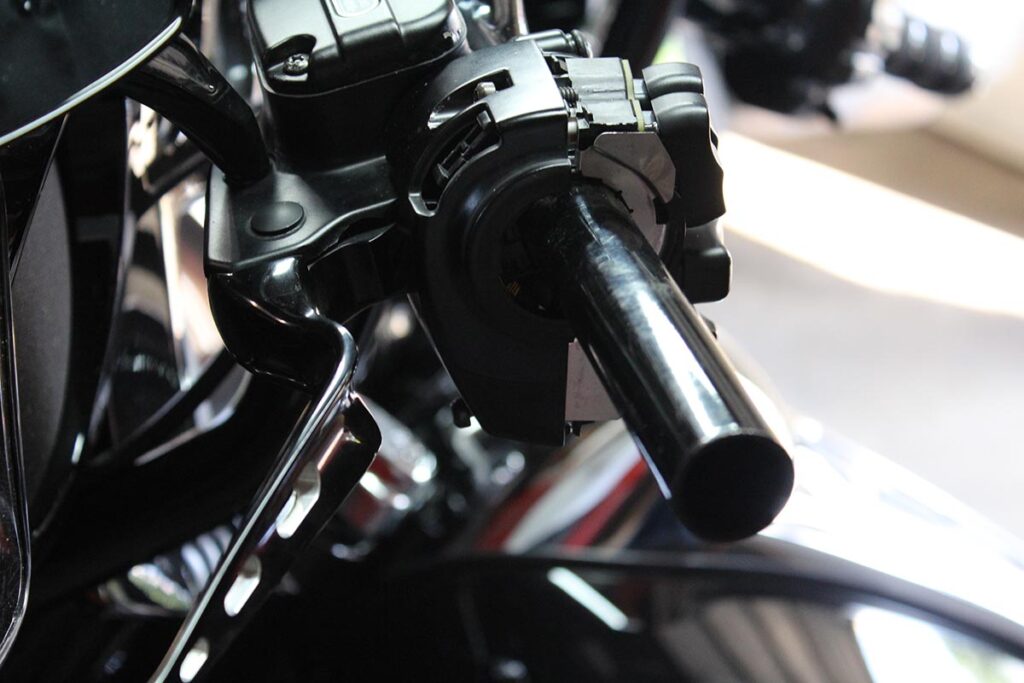
I started with the hand grips on my bike. This will be the second set I've put on. The last was nice but just didn't have the right feel to them. They were kind of short and my hand would overlap on the end. They also didn't give my hands good support for longer rides. Our salesman said to try Avon Grips. He was so sure I would like them that we spent 10 minutes walking around the dealership until we found a bike with Avon grips on it. As he said, they felt superb so I ordered a set that had the Edge Cut style like my clutch and brake lever. It takes about 10 minutes to install them.
Saddlebags On The Softail
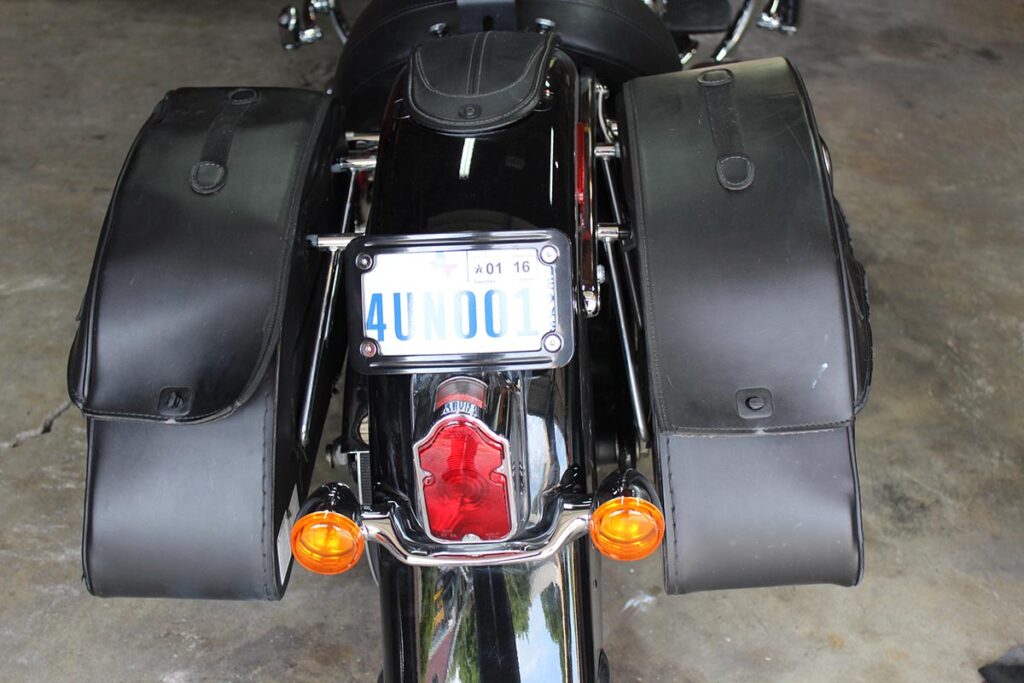
Next, I worked on putting the Saddlebag Guards on Margaret's bike. There was a little bit of tear down on the right-side installation. Had to nearly remove the entire exhaust system to get the lower mounting bolt installed. Not a big issue though. After installing the guards is where it all fell apart. We bought some saddlebags from Viking. We didn't like Harley's Softail deluxe bags. They are an extremely poor design and have the capacity to hold little more than a shoe on each side. That won't do much for any type of trip we might want to take and they are expensive, over $1000 from what some people in our chapter told us they paid.

Decent Bags
The bags we purchased are super nice and almost as big as my Street Glide bags. A molded plastic shell covered with leather gives them rigidity and style. Both of us are quite impressed with them and they were only $219.00. However, the mounting kit that came with them just sucks. The left side support provided is completely useless as it will not clear the drive train. Not only that but the bolts they provided had the wrong type threads so they wouldn't screw in and were too long. We went to Harley and ordered a nice single-piece mount made by Drag Specialties for $60.
Completing The Saddlebag Install
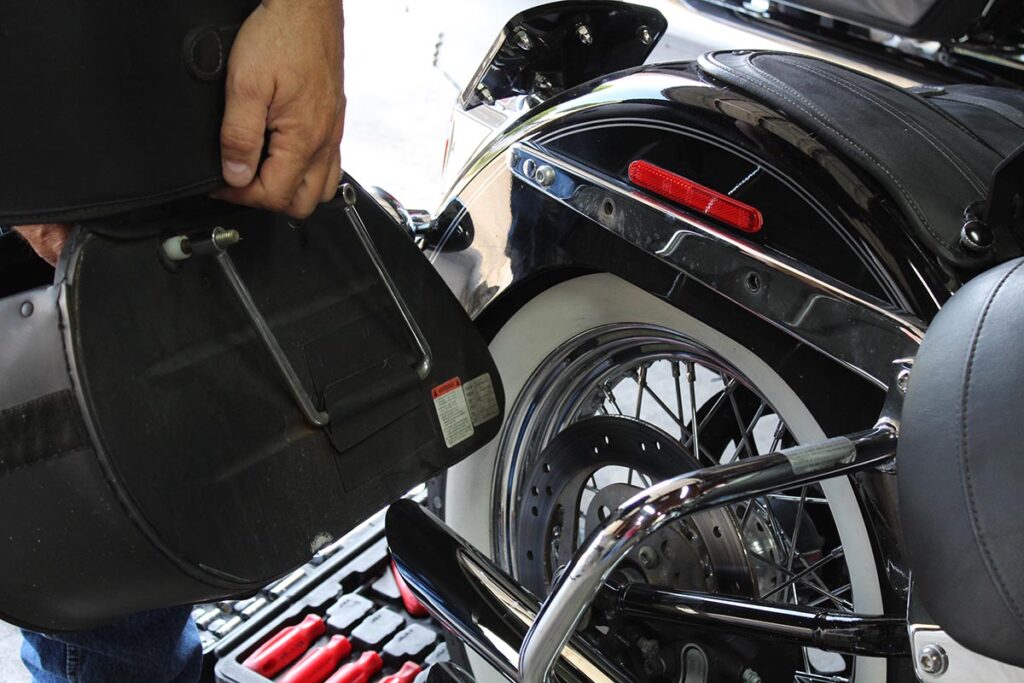
The saddle bag supports arrived Tuesday so we picked them up and hurried home to see if they were going to work. Again, more issues. I figure this will happen since we are using non-Harley parts. The supports fit perfectly and clear the drive train but they angle outwards from the fender. This means the bags won't hang straight. My idea was to find some barrel spacers for the mount and use longer bolts. Off to Home Depot, we went. It took a while to find exactly what we thought might work and get back home.
I put the supports on and held the bags into place while I marked where the mounting bolts came to on the bags. Got out the drill and made the holes. I put a large flange washer that I painted on the inside and outside of the bag, the mounting bolt through those, then the barrel spacer over that, then the support which bolted perfectly in place, thus holding the bags very securely. They still lean outwards a bit but not bad enough to get worked up about.

Securing The Bottom Of The Saddlebag
We still had to figure out how to mount the bottom part of the bag to the support. I didn't want to drill holes so we came up with the idea of using velcro. We used the plastic part of the velcro on the bag side and simply stuck it on. That stuff is super hard to get off once it sets. Not really sure how to explain how I was able to attach it to the support but you'll see it in the pictures. All were trying to do is keep the bag from rattling against the bottom of the support, the huge bolts hold the bag on very securely. It all worked well and we still got her some very nice bags for a total cost including the new supports and Home Depot hardware for under $300 which I am very pleased about.

Leave a Reply