
Ride It Wrench It is dedicated to bringing useful, interesting, and engaging content to the motorcycling community. Information includes basic motorcycle maintenance, motorcycle safety, interesting articles, and videos on various motorcycling-related topics.
Topic Specific


Recent Posts

Featured Articles
This section of articles focuses on topics filled with specialized content. These articles are meant to be engaging, thought-provoking, and more in-depth than a typical post. Some topics include Safety, personal opinions, and riding stories. Most of the articles are longer than a typical blog post and will take a few minutes to read.


See More Featured Articles
Looking for something specific?
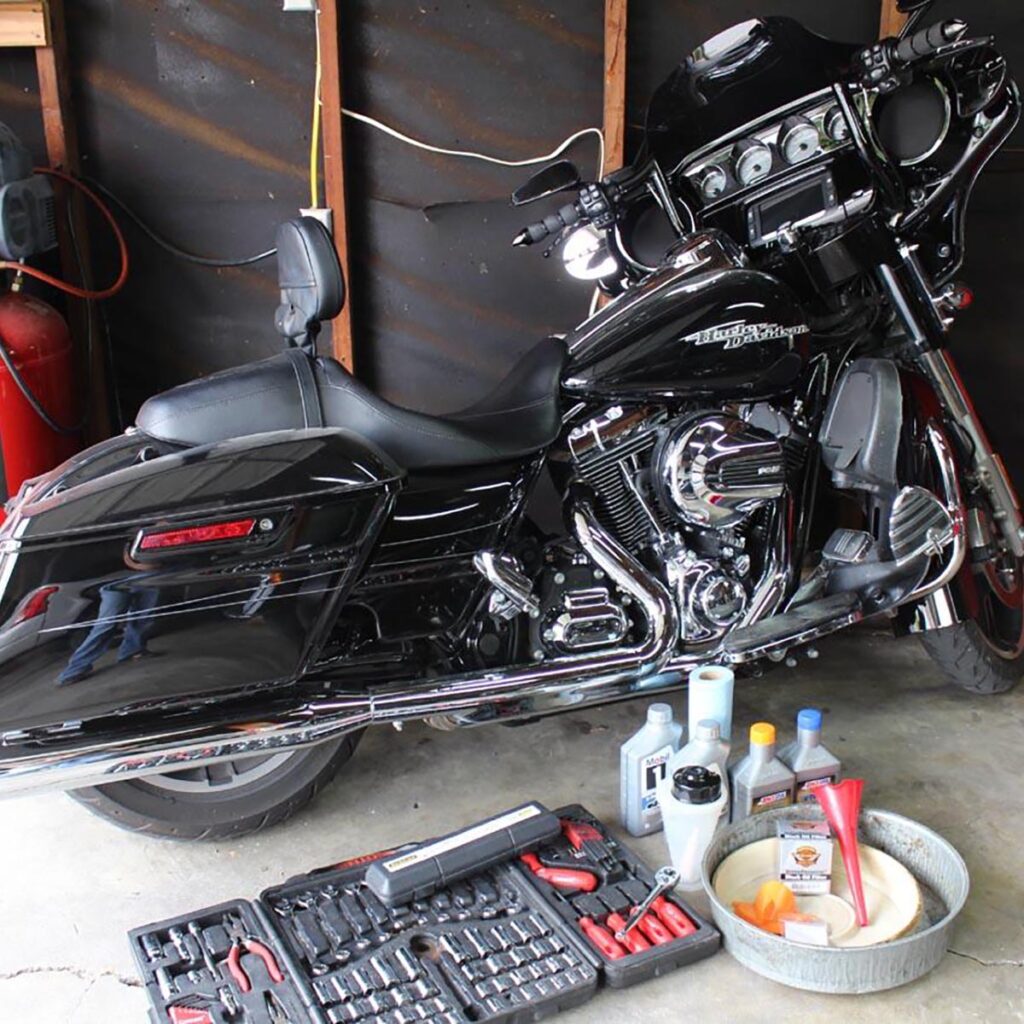
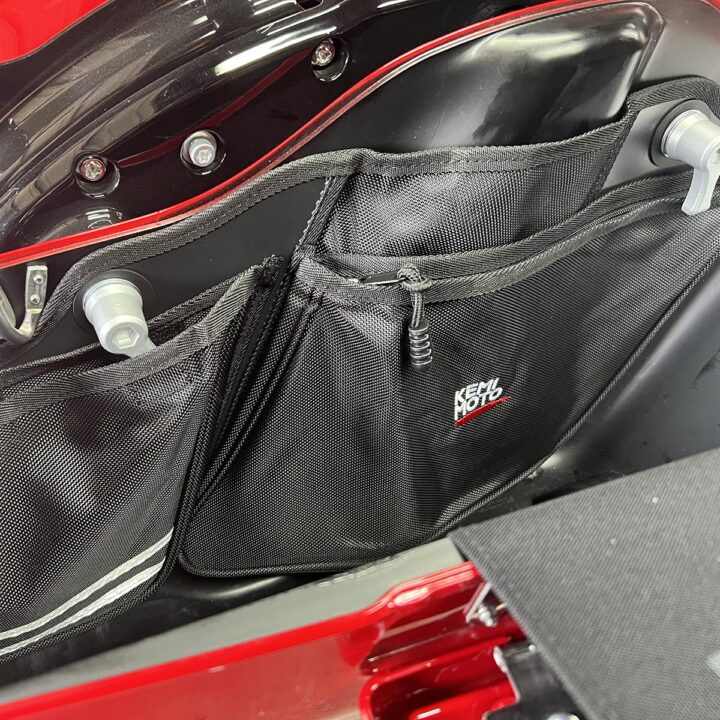
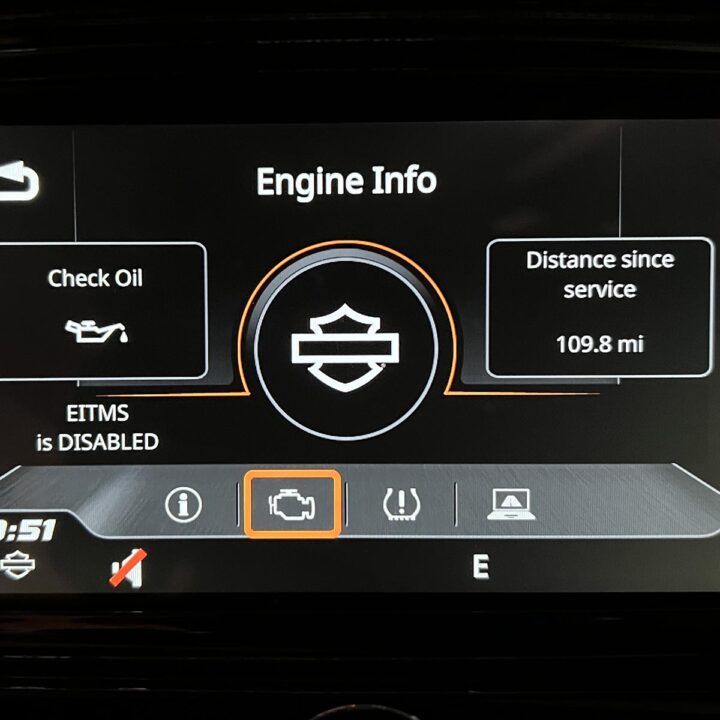
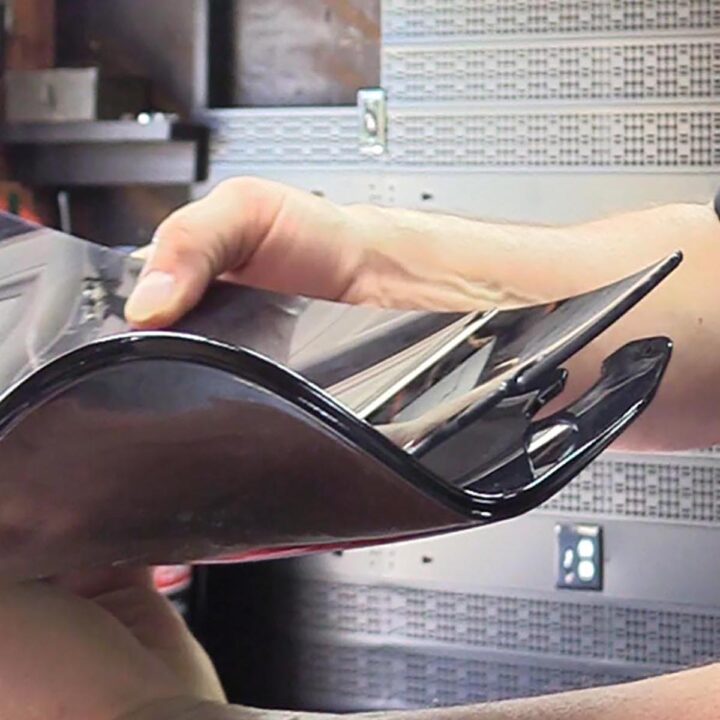
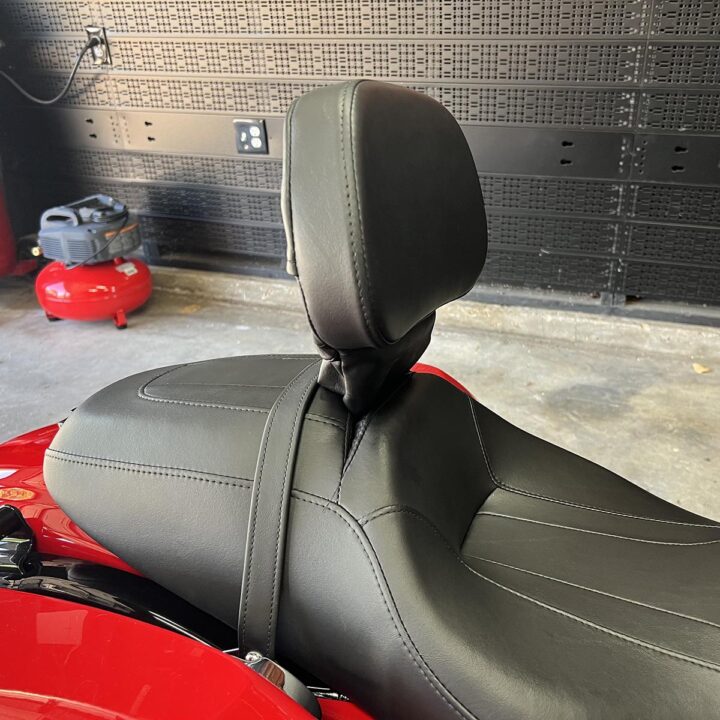
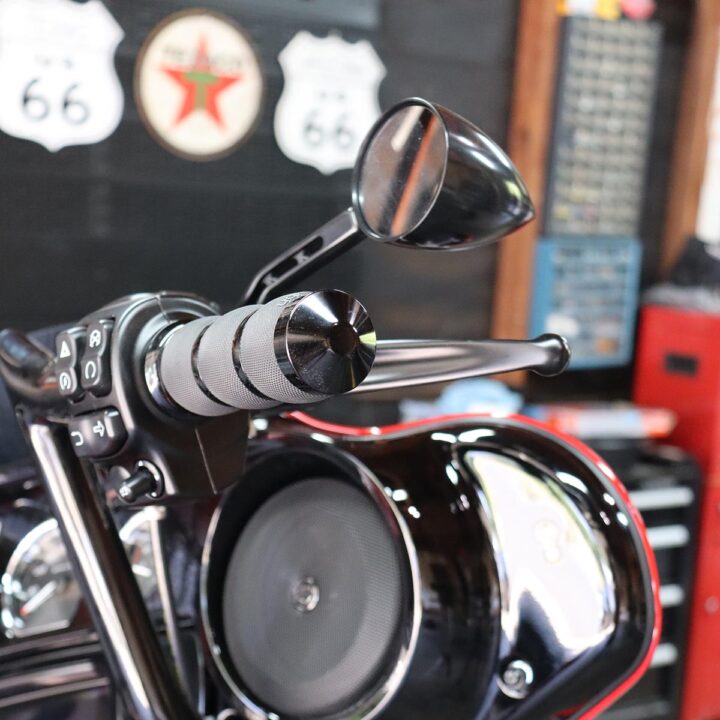
Motorcycle Maintenance

See More on Motorcycle Maintenance
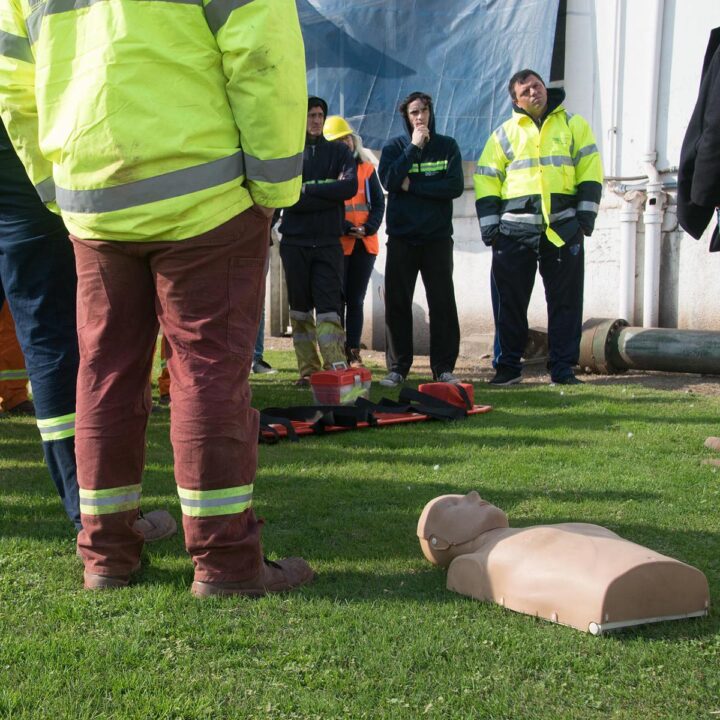
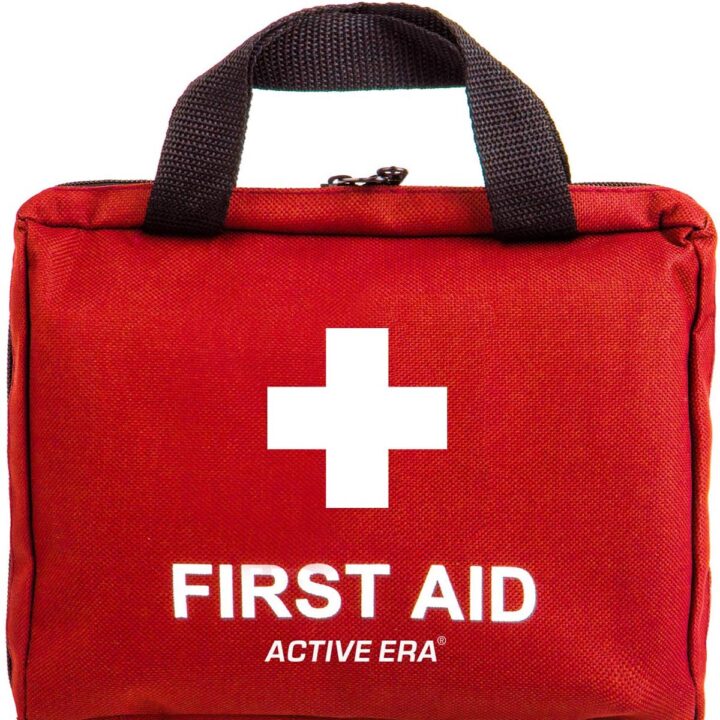
Motorcycle Safety & Gear
See More about Motorcycle Safety & Gear
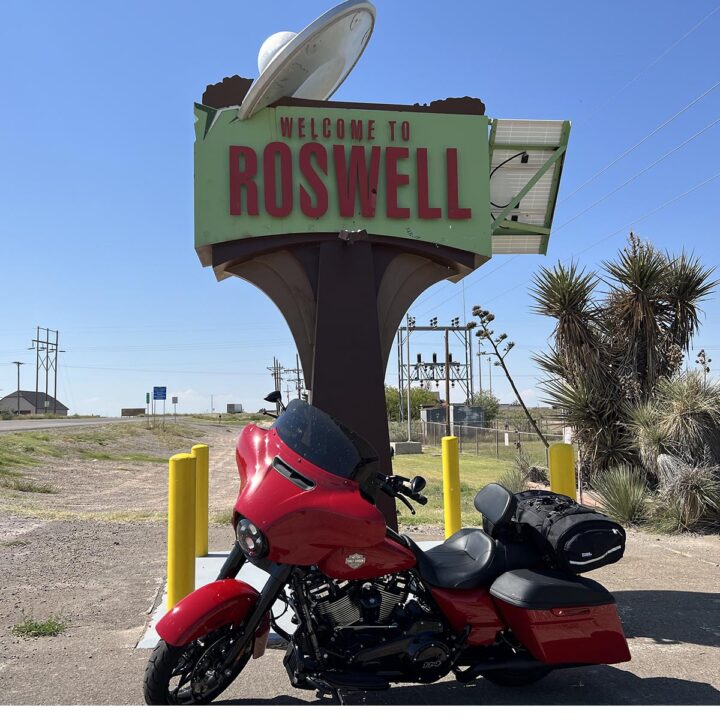
On The Road

See More On The Road
Outside The Ride

See More Outside The Ride